How to Add an RSVP QR Code to a Canva Invitation
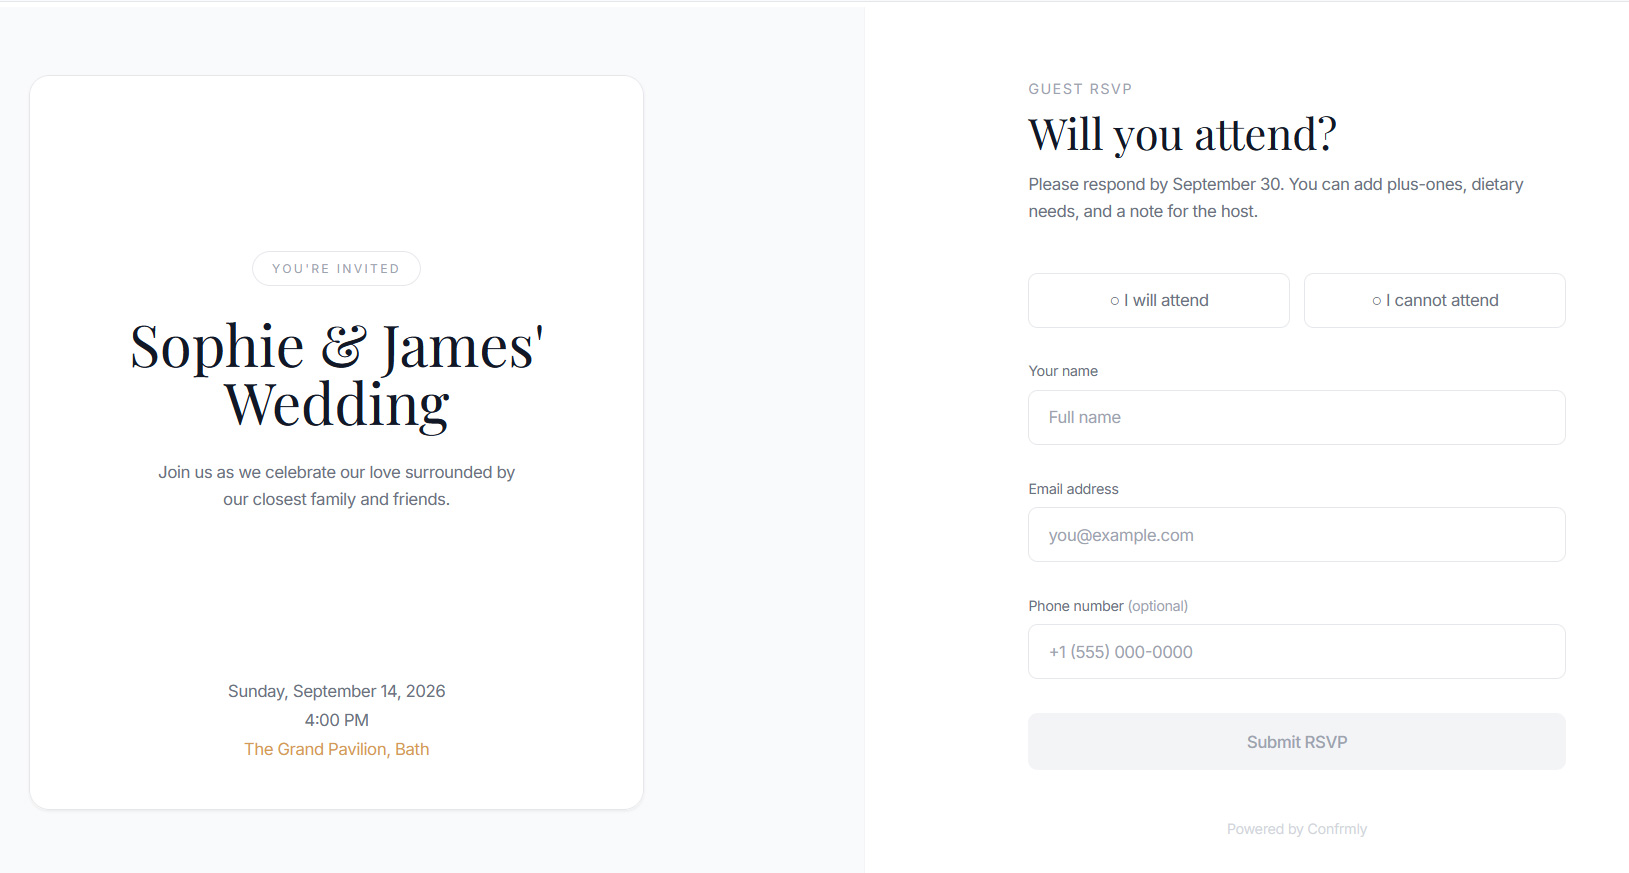
Create an RSVP page, download its QR code, add it to a Canva invitation, and test the printed design before sending it to guests.
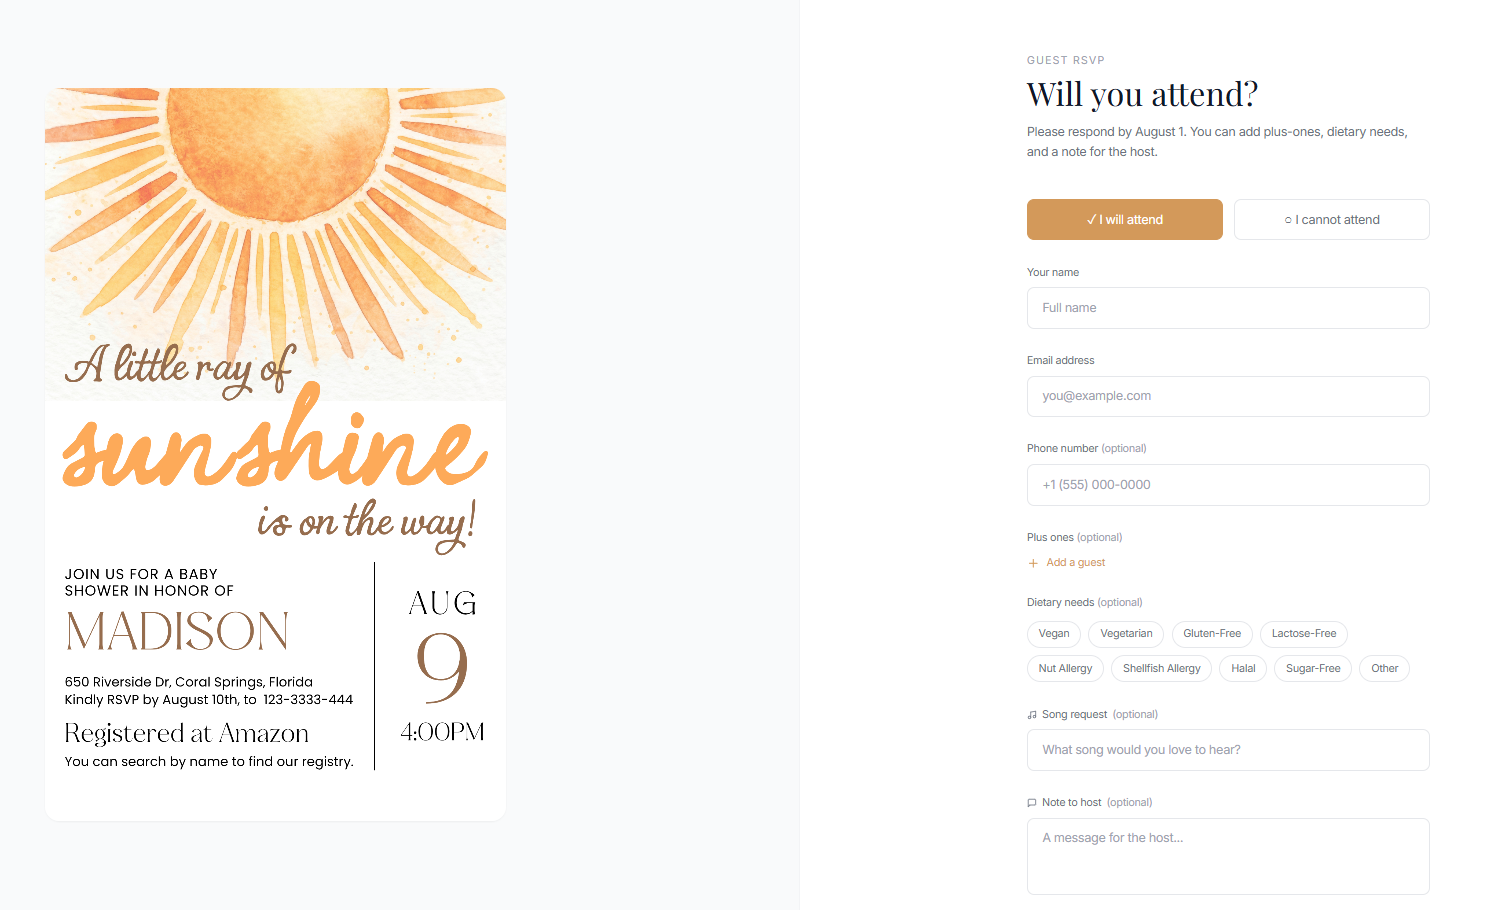
You can add an RSVP QR code to a Canva invitation by creating your RSVP page first, downloading its QR image, and uploading that image into your Canva design. Guests scan the printed code with their phone and respond on the same online form, while every reply appears in one host dashboard.
This workflow works for wedding invitations, baby showers, birthdays, graduations and other events. If your invitation will be a Canva website instead of a printed card, use a clickable RSVP button rather than asking guests to scan a QR code from the same phone.
What you need before opening Canva
- A finished or nearly finished invitation design.
- An online RSVP page with a permanent shareable link.
- A PNG version of the QR code connected to that link.
- Your RSVP deadline and one short instruction for guests.
Create the RSVP page before placing the QR code. That way, you can scan and test the exact destination while the invitation is still editable.
Step 1: Create your RSVP page
Start by creating an event in the free Confrmly RSVP tracker. Add the event name, date, location and response deadline. Select the guest details you actually need, such as attendance, plus-one names, dietary needs, phone number, song request or a custom question.
Guests do not need a Confrmly account. They open the page, submit their information and return to the same link if they need to update their response later.
Step 2: Download the event QR code
Open your event in the host dashboard and download its QR code as a PNG image. Keep the RSVP link copied somewhere safe as a backup. The downloaded code is already connected to your event, so you do not need to create a second form or maintain a separate guest list.
Do not take a screenshot of the QR code if a download option is available. The downloaded file normally has cleaner edges and is more reliable when printed.
Step 3: Upload the QR code to your Canva invitation
- Open the invitation design you plan to print.
- Use Canva Uploads to add the downloaded QR PNG.
- Place the code on the main invitation or a separate details card.
- Keep it on a light, solid background with clear empty space around every side.
- Add a short RSVP instruction and deadline close to the code.
Canva also provides QR-related tools, but uploading the QR image supplied for your event keeps the destination tied to the exact Confrmly RSVP page you already tested.
Where should the QR code go?
Choose a part of the design that is easy to find without competing with the names, date or main artwork. The lower third of the back side, a details card or an RSVP insert usually gives the code enough room.
A practical starting size is about 1 inch or 2.5 cm square. A larger code may be necessary when the invitation is viewed from farther away, printed on textured paper, or surrounded by detailed artwork. Keep the code square and never stretch it in only one direction.
RSVP wording you can place beside the code
Simple wording
Please RSVP by September 1. Scan the QR code to respond.
Wording with a backup link
Kindly RSVP by September 1. Scan the code or visit our RSVP link.
More formal wording
We request the pleasure of your response by September 1 using the QR code below.
Keep the instruction short. The invitation only needs to tell guests what to do and when to do it. The RSVP page can collect the detailed information.
Step 4: Export and test the printed invitation
Download the final print file using the format required by your printer. Print at least one copy at the intended size before ordering the full batch. Scan it with more than one phone, in normal indoor light and from a comfortable reading distance.
- Confirm that the code opens the correct event.
- Complete a test response from start to finish.
- Check that the guest form is easy to use on a phone.
- Verify that the response appears in the host dashboard.
- Ask another person to scan the proof without telling them where the code is.
If scanning is inconsistent, increase the code size, add more empty space, simplify the background or improve the contrast before printing.
For a Canva website invitation, use a clickable RSVP link
A Canva website is already interactive, so a clickable button is usually easier than a QR code. Add a button or clear text such as RSVP Here, connect it to the Confrmly event link, preview the website on mobile and test the published version.
Canva Websites can be published as mobile-friendly pages and can include clear calls to action. A website invitation can therefore send guests directly to the RSVP form without making them scan one screen with another device.
If you also create a printed version of the same design, use the QR code in the print file and the clickable link in the website version. Both can lead to the same event and the same guest dashboard.
What happens after someone scans the code?
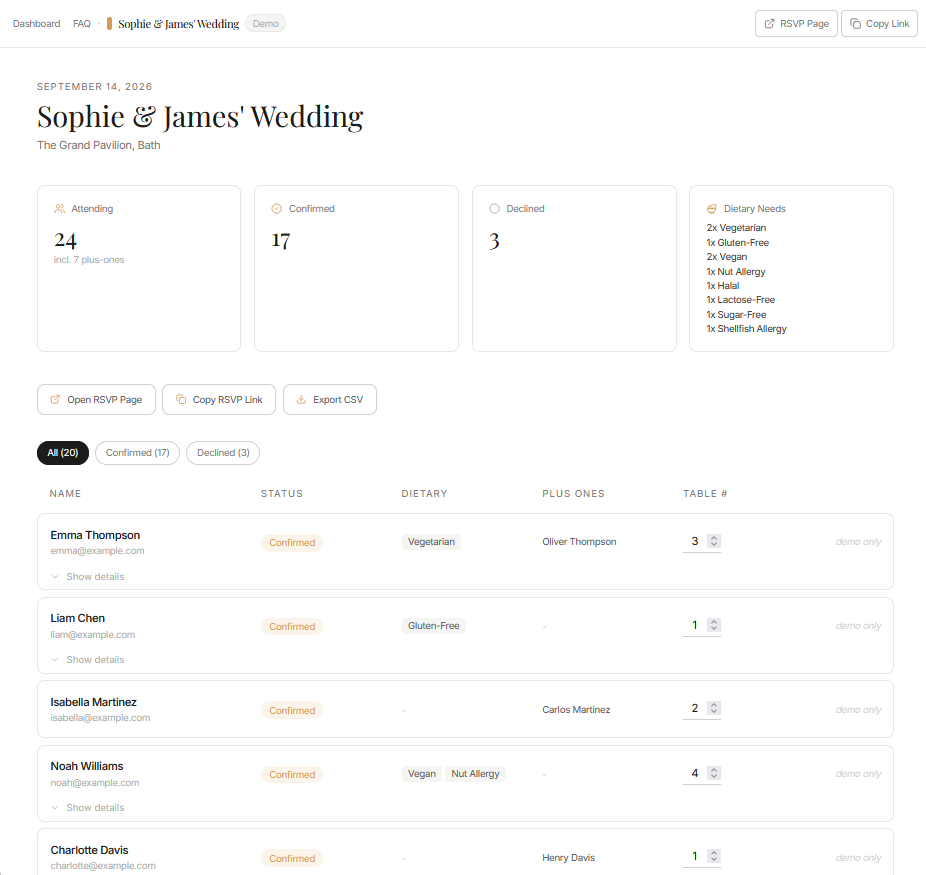
The guest opens the RSVP page, confirms or declines, and submits the requested details. The host can then review attendance, plus-ones, dietary information, notes and table assignments without copying answers from messages into a spreadsheet.
Common QR code invitation mistakes
- Making the code too small: leave enough room for reliable scanning after printing.
- Placing it over artwork: use a plain, light background and preserve the empty border.
- Stretching the image: resize from a corner so the QR code remains square.
- Skipping the printed proof: a code that works on screen may fail after resizing or printing.
- Using different forms: send every guest to one RSVP page so responses remain together.
- Forgetting a deadline: place the response date next to the code.
- Using a QR code on a website without a link: make the online version directly clickable.
One RSVP destination for every invitation format
The simplest setup is one event, one RSVP page and one live guest list. Use its QR code for printed Canva invitations and its clickable link for digital invitations or Canva Websites.
Create a free Confrmly event, compare the available RSVP tracking methods, or read the complete wedding invitation QR code guide.
Canva and Confrmly are independent products. Canva is a trademark of its respective owner, and this guide is not sponsored or endorsed by Canva.
Ready to send invites?
Create your event on Confrmly
Use this template for your design, then set up your RSVP page to collect responses elegantly.
Get Started Free