How to Add a Clickable RSVP Link to a Canva Wedding Website
Add a clickable Confrmly RSVP button to a Canva wedding website, test the mobile guest journey and track every response in one dashboard.
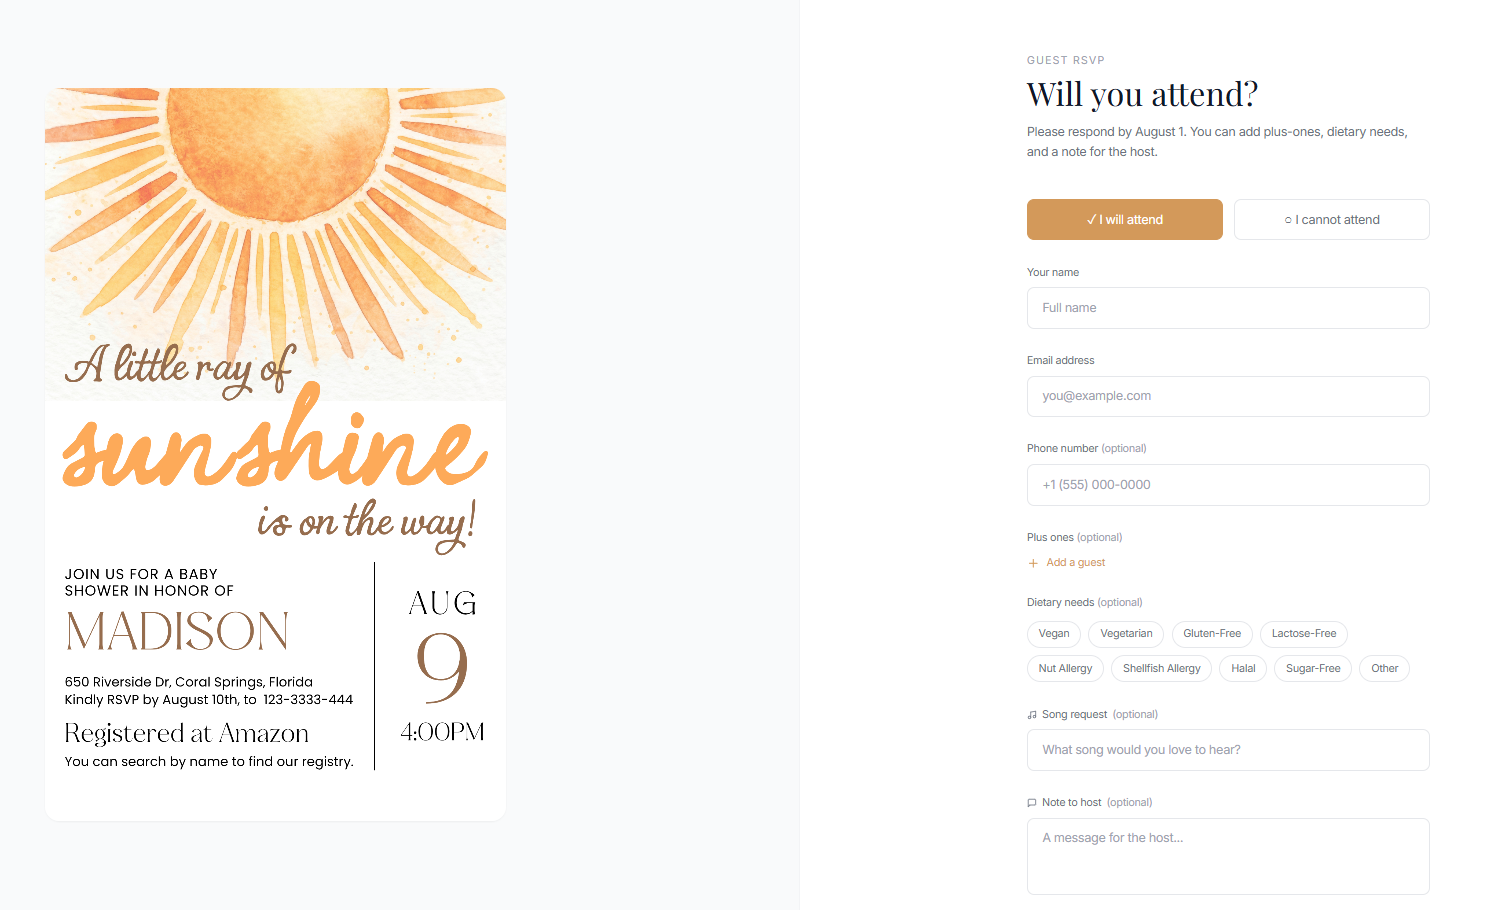
The simplest way to collect replies from a Canva wedding website is to add a visible RSVP Here button that opens one Confrmly event link. Guests tap the button, respond on their phone and appear in the same host dashboard. They do not need a Confrmly account.
This is a link-based workflow, not a native Canva integration. Canva hosts the invitation website, while Confrmly provides the RSVP form and guest tracking.
Why use a clickable link instead of a QR code?
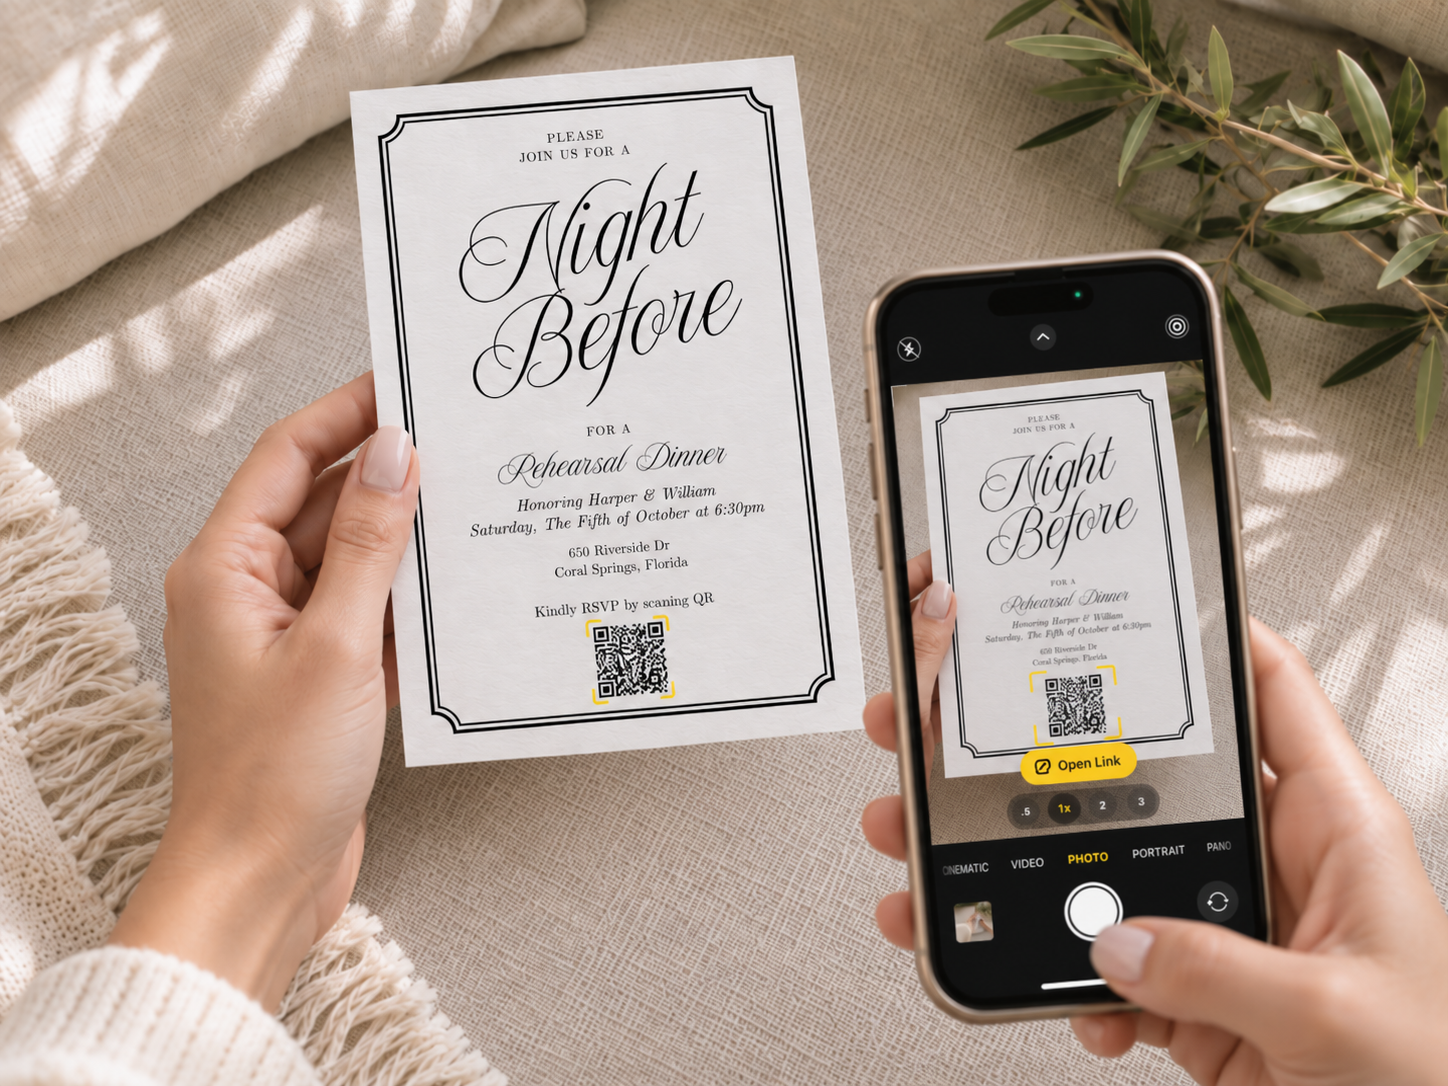
A QR code works well on a printed invitation because the guest scans the card with a phone. A Canva website is already open on a phone, tablet or computer, so a clickable link is easier. Asking someone to scan a QR code displayed on the same phone creates an unnecessary extra step.
If you are creating both printed and digital invitations, use the Confrmly QR code on the printed version and the Confrmly link on the Canva website. Both can lead to the same event and the same guest list.
Step 1: Create the RSVP page before editing the website
- Create a free event in the Confrmly RSVP tracker.
- Add the event name, date, location and RSVP deadline.
- Choose the guest information you need, such as attendance, plus-ones, dietary needs, song requests or custom questions.
- Open the event and copy its RSVP link.
- Open the link in a private browser window and submit one test response.
Testing before you add the link to Canva confirms that the destination is correct and that the response appears in the host dashboard.
Step 2: Add the RSVP button in Canva
Open the Canva Website design you plan to share with guests. Add a clear call to action such as RSVP Here, Respond by September 1 or Confirm Attendance. Place it near the date and venue details or in a dedicated RSVP section.
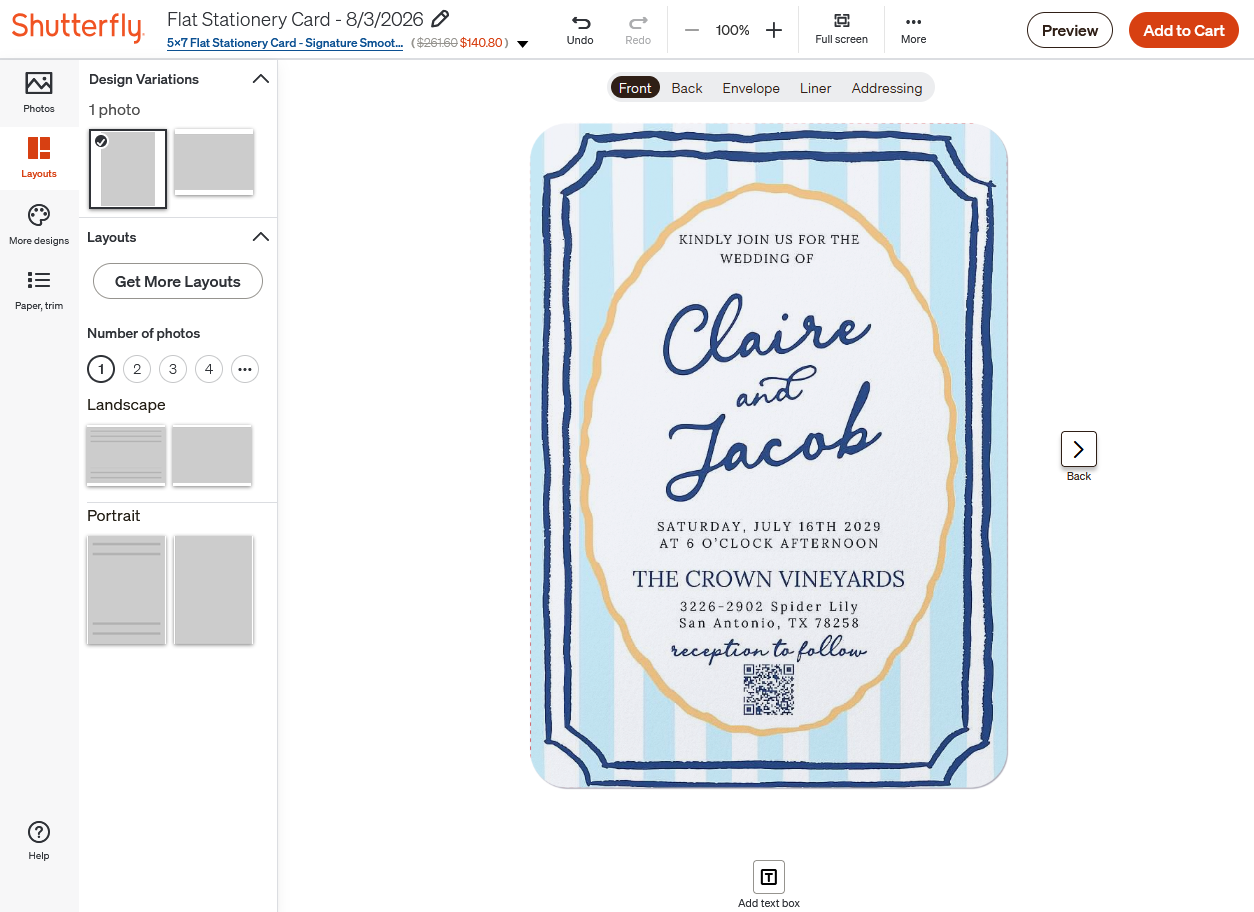
According to Canva's current website guide, you can select the text or button element, choose the chain-link icon in the editor and add an external URL. Paste the Confrmly RSVP link as that destination. See Canva's official website guide for the current editor workflow.
Use descriptive button text. A label such as RSVP Here is clearer than Click Here because guests immediately know what happens next.
Step 3: Preview the guest journey on mobile
Use Canva's Preview option before publishing. Check the website at mobile size and tap the RSVP button yourself. The button should open the correct Confrmly event without requiring a guest login.
- Make sure the button is large enough to tap with one thumb.
- Keep it visually different from decorative elements.
- State the response deadline close to the button.
- Test the link from both the preview and the published website.
- Ask another person to complete the form without instructions.
Step 4: Publish the Canva website and run one final test
Publish the website using the Canva URL or domain option that fits your invitation. Then open the public URL on a phone that is not signed in to your Canva account. Tap the RSVP button, submit a temporary response and confirm that it reaches the correct event.
Do not distribute the invitation until the published link has passed this test. Preview links and editor links are not substitutes for the final public guest URL.
What happens after a guest responds?
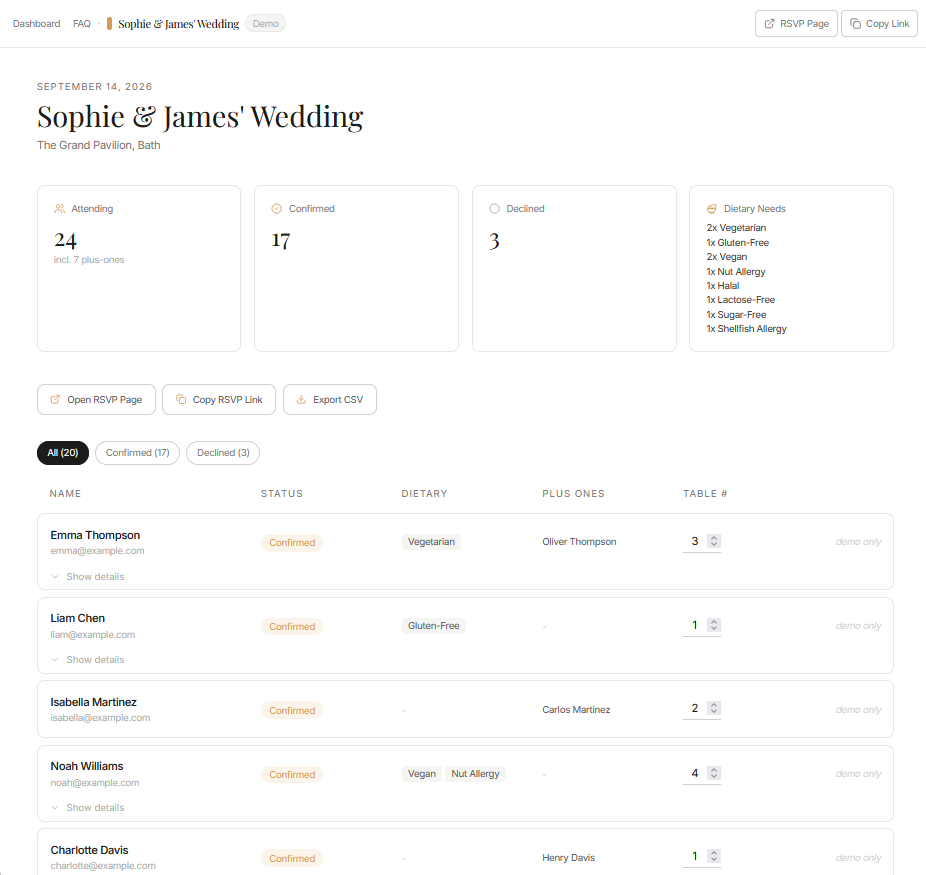
Every response appears in the Confrmly host dashboard. You can review confirmed, declined and pending guests along with plus-ones, dietary needs, notes and table assignments. This keeps replies out of scattered text messages, emails and social media conversations.
Recommended RSVP wording for a Canva wedding website
Short and direct
Please RSVP by September 1.
Warm and personal
We hope you can celebrate with us. Please respond by September 1.
For multiple invitation formats
Use the RSVP button on our website or scan the code on your printed invitation by September 1.
Common Canva website RSVP mistakes
- Using a QR code as the only online action: add a clickable button for guests already viewing the website on a phone.
- Linking to the host dashboard: use the public guest RSVP page, never the organizer area.
- Testing only inside the editor: test the final published website in a signed-out browser.
- Hiding the deadline: place the response date beside the button.
- Creating multiple guest lists: use the same Confrmly event for the website link and printed QR code.
- Making the button decorative: use a clear label, strong contrast and enough space for a reliable tap.
One RSVP page for your digital and printed invitations
A Canva wedding website does not need a complicated RSVP setup. Create one Confrmly event, paste its guest link into a clear Canva button and test the published journey on mobile. If you also print invitations, download the QR code from the same event so every reply stays together.
Create a free Confrmly event, read the printed Canva invitation QR code guide, or compare the best ways to track RSVPs.
Canva and Confrmly are independent products. Canva is a trademark of its respective owner. This guide is not sponsored or endorsed by Canva and does not describe a native integration.
Ready to send invites?
Create your event on Confrmly
Set up your RSVP page, share the link with guests, and keep their responses in one place.
Get Started Free